So… I have been doing a little playing around and whilst i would encourage the use of Nextcloud / personal cloud solutions. If you ever wanted to buy a Synology NAS But not been able to justify the price, you can now install it on the ZimaX products* I have only tested this on the ZimaBlade so far…
I used guidance and instructions across a few sites but refer to the guidance here:
Firstly start by downloading the latest version of ARC Bootloader from the link HERE You will want the one ending .img.zip
Once that is downloaded, Extract this, and use Balina Etcher to write this to a USB Stick (minimum 4gb usb3.0)
Insert it into your Zima device and check the following settings:
- Disable Fastboot/Quiet Boot
- Disable Secure Boot
- Use USB Stick as first Boot device
Once booted from the USB you will see the folowing screen:

Select the ‘Configure Loader’ option
Then get ready for a big wall of white text BLAAAAA. don’t worry about it too much.
Eventually you will se the following -

So… we want to chose a model:

Yes i know it says Broadwell, yes i know it says 12-bay HOWEVER this has proven to be the most robust and reliable model to select (for some reason)
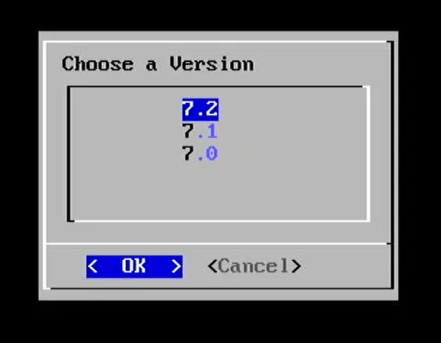
Select version 7.2 (latest version of DSM)
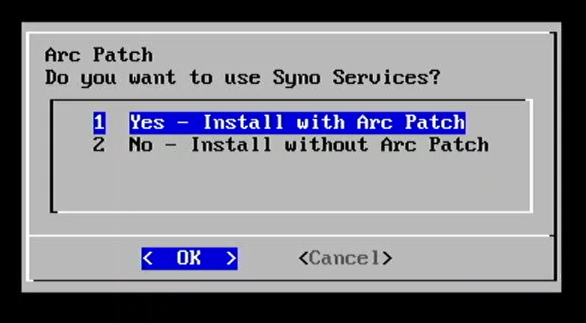
Select the ARC Patch
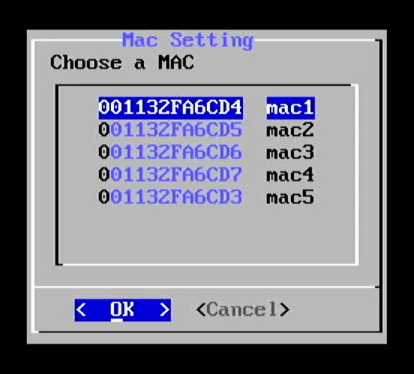
It will then ask you for MAC selection (pick the first one, or any one really as it’s purely cosmetic)

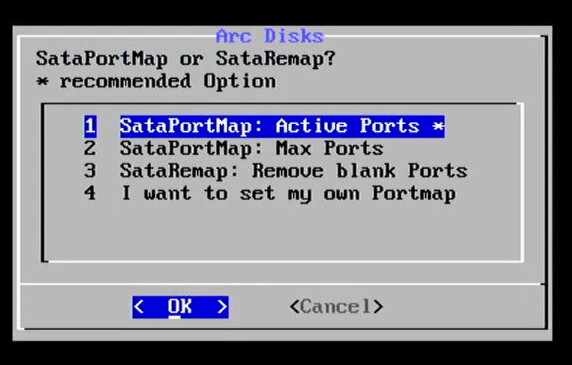
It will pick up your drives that you have connected (i would recommend selecting option 1)
Select Any extensions you want to include

Annnnddd select to build the bootloader
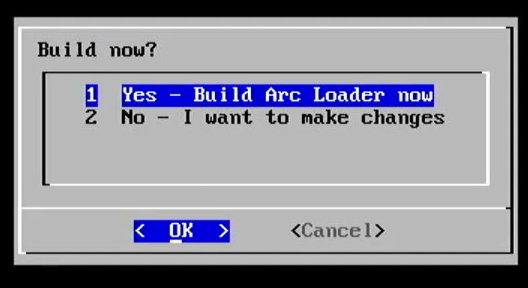
After that’s done it’s thing, you will be asked if you want to boot it… Yes, yes we do…
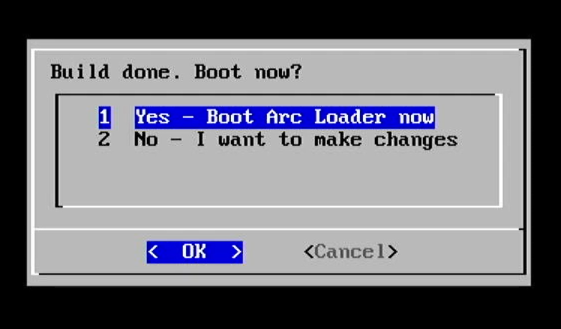
Once it’s done it’s thing. you will see this…

The only bit we are interested in is the IP address…
If you have any other house jobs you want to do, now is the time… it can take a LOOONNNGGGG time to get to the next screen and will look like it’s not doing anything, nothing will change on the screen, the LED won’t flicker and your network light will probably go out… DON’T PANIC… just wait and be patient…
If you want to you can run a ping from another device to look for the IP to come back online…
After AGES, you will see something like the following:

IT’S ALIVE!!!
So… we open a browser on our other device and navigate to http://youripaddresshere:5000
and then wait… eventually you will see something like this:

CHECK THE IP ADDRESS FOR THE DEVICE ON THAT PAGE
Sometimes it likes to show random ones on different ranges (don’t ask me why)
As you can see the status says ‘not installed’ so this means we need to install the actual DSM OS
So… Let’s click through the usual setup…


Now for the good part… We want to manually select the file to upload and use… Here we are matching the pat to the build and device that we selected earlier, you can find these files on the synology site HERE

Then it’s going to wipe your drives… Of course we say yes…

Enter the model number we selected…

and then we get the installation swirly bit… I promise… we are getting closer…

Countdown begins…

Then… you will probably see your network light go out again… and you will see this…

But it’s ok… eventually,… you will get to the final stage… HOORAAYY ![]()

Then just follow the on screen process to create an account and get your butt on youtube to watch how to use DSM ![]() (or go grab some beers and a nap)
(or go grab some beers and a nap)

Booting can take a bit of time but this is designed to be a NAS so I never turn off / boot times aren’t really an issue for me.
